A Micro-Memoir built around photos
Shared with permission
Hello Charmian
I wanted to show you the physical, printed book I put together using the photos you sent me.
I previously sent you the digital mock-up, in which they appeared in what I guessed to be chronological order.
And I think I told you that I’d left 18 pages blank for you to write in, out of 40.
Digital mock-ups are great, but it makes a huge difference to see the actual physical book.
***
When you first started thinking about creating a Micro-Memoir about your sister, you sounded a little overwhelmed about the task of finding and scanning all your old photos.
So I suggested that you just take a handful of “good enough” photos, place them on a plain surface – a wall or table – and photograph them either singly or in groups.
You did that, and sent me your photos-of-photos. As you can see below, I used them to create this physical book.
I’ll send you the physical copy in the post, so that you can write stories to go with the pictures – either as short captions here and there or to fill whole blank pages.
***
Here are a few of the double-page spreads, to give a sense of where you might add text:
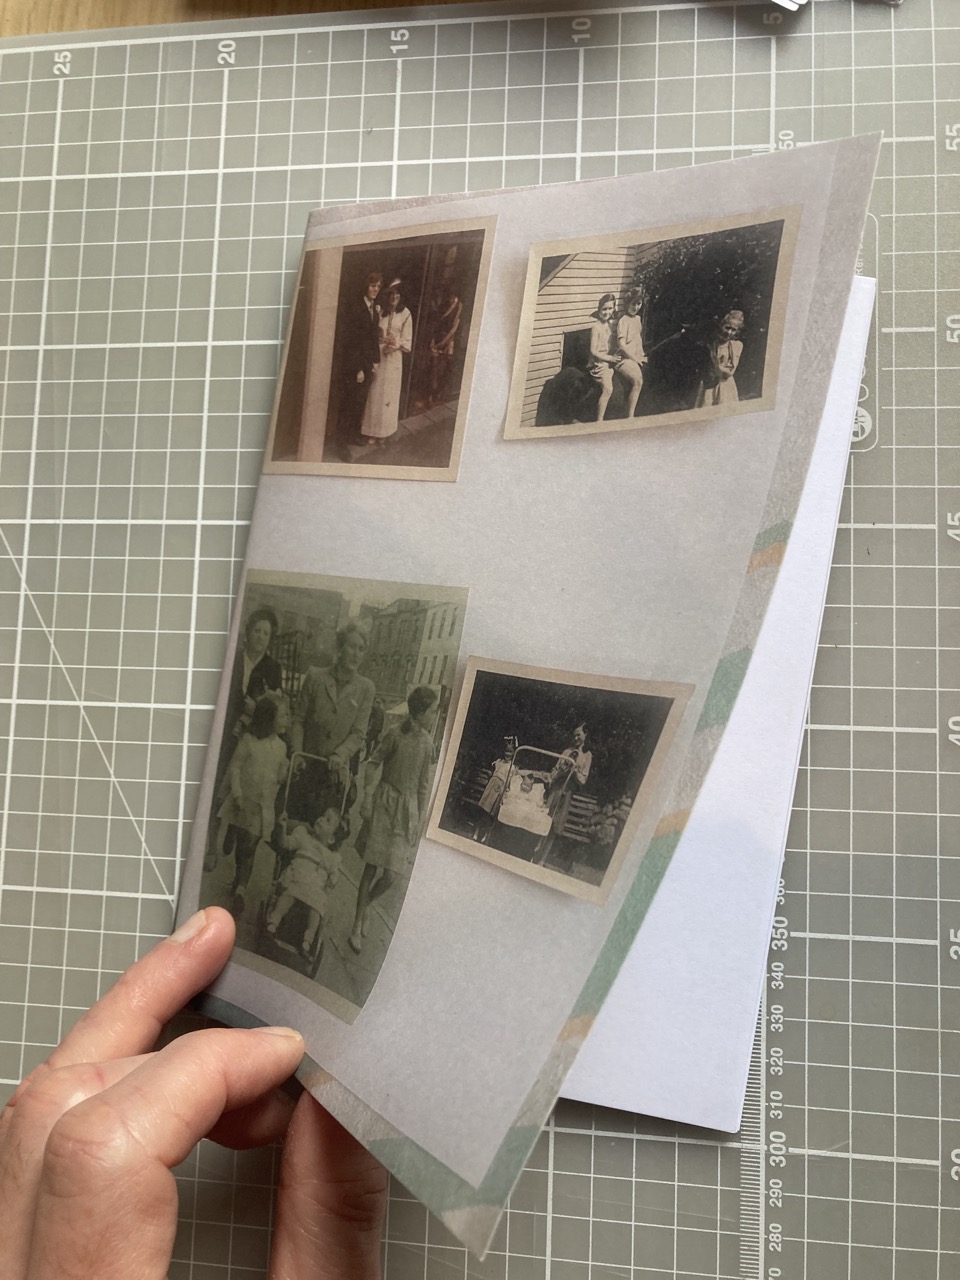
1. For the cover, I used a photo of several photos together. Obviously, you will want to add some kind of title and perhaps a subtitle, plus your own name as the author.

2. I took this lovely old photo and split the digital version you sent me in two, placing one half on a left-hand page and the other half on the right, lining them up carefully to make it run seamlessly across the whole spread.

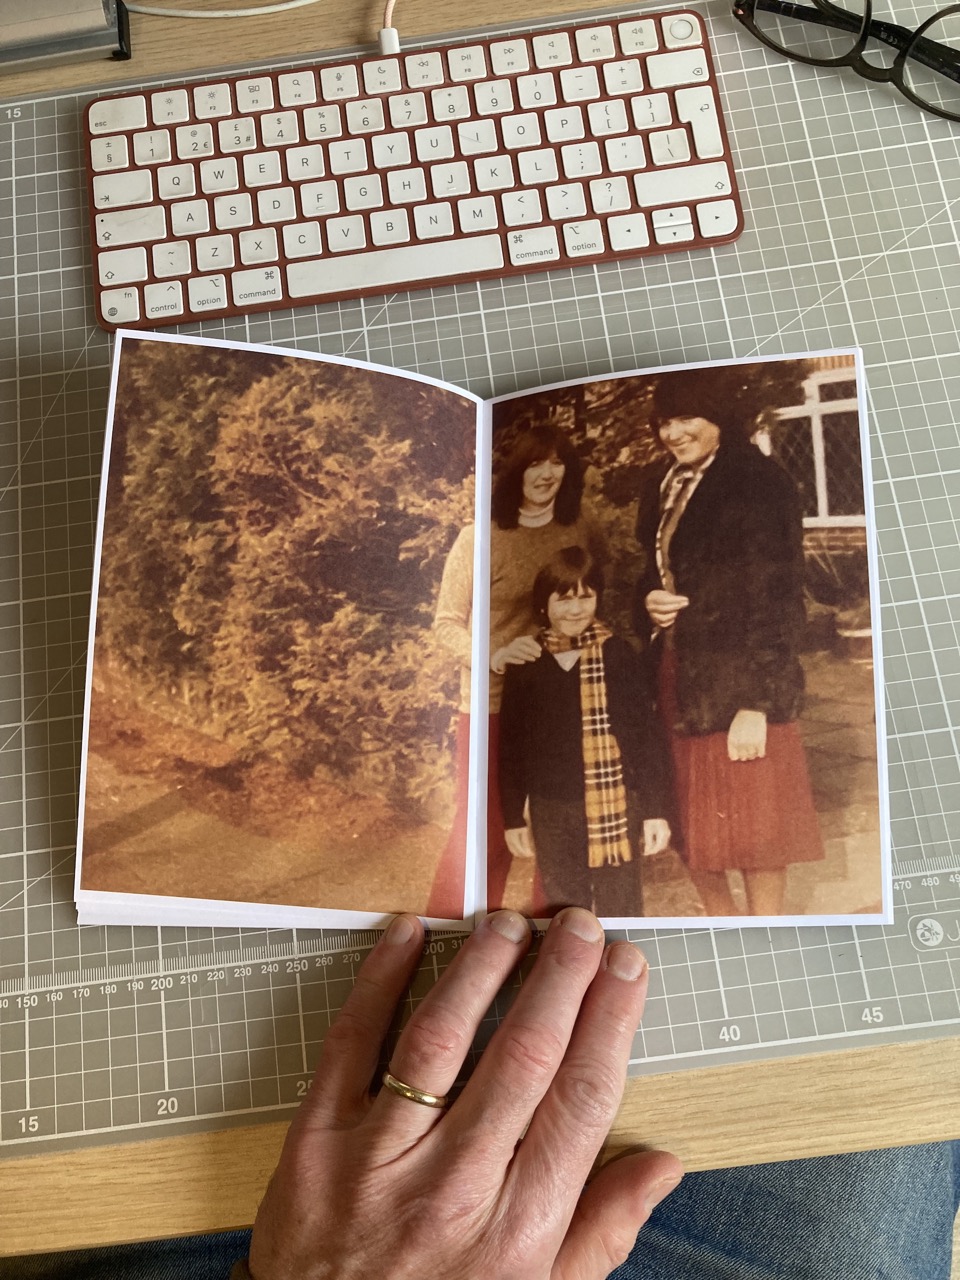
3. This is an example of a spread with a picture on the right-hand side (where it tends to have more impact) and a whole, empty left-hand page for you to fill with writing. I particularly liked the way your photo of this monochrome old family photo somehow added a lot of pink.
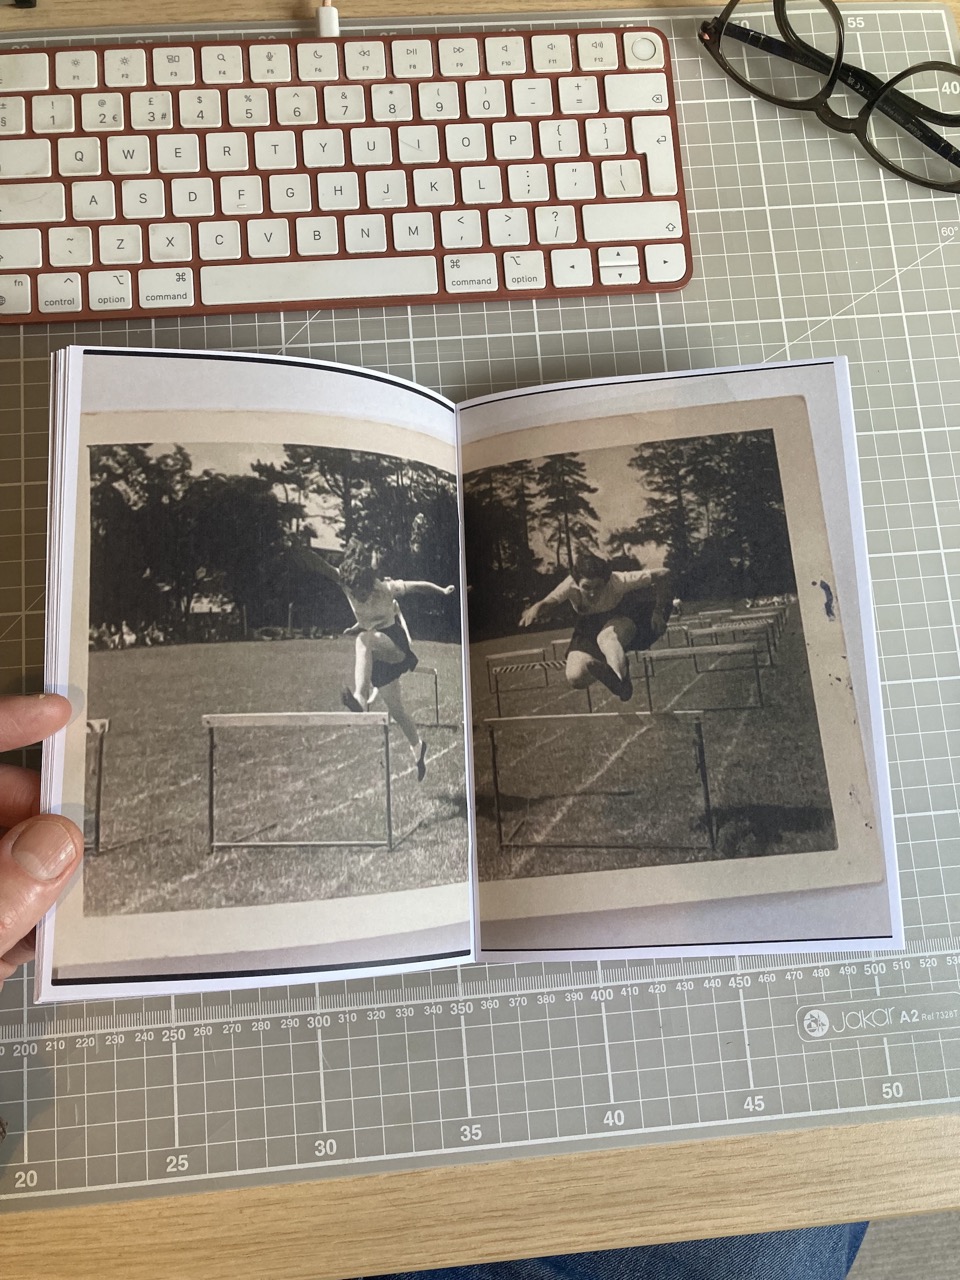
4. As above, I split your digital photo-of-a-photo in half. This time, unlike with picture 2 (above) I left it obvious that you have taken a photo of a print, with a small margin around the edge that you could write on, if you like.
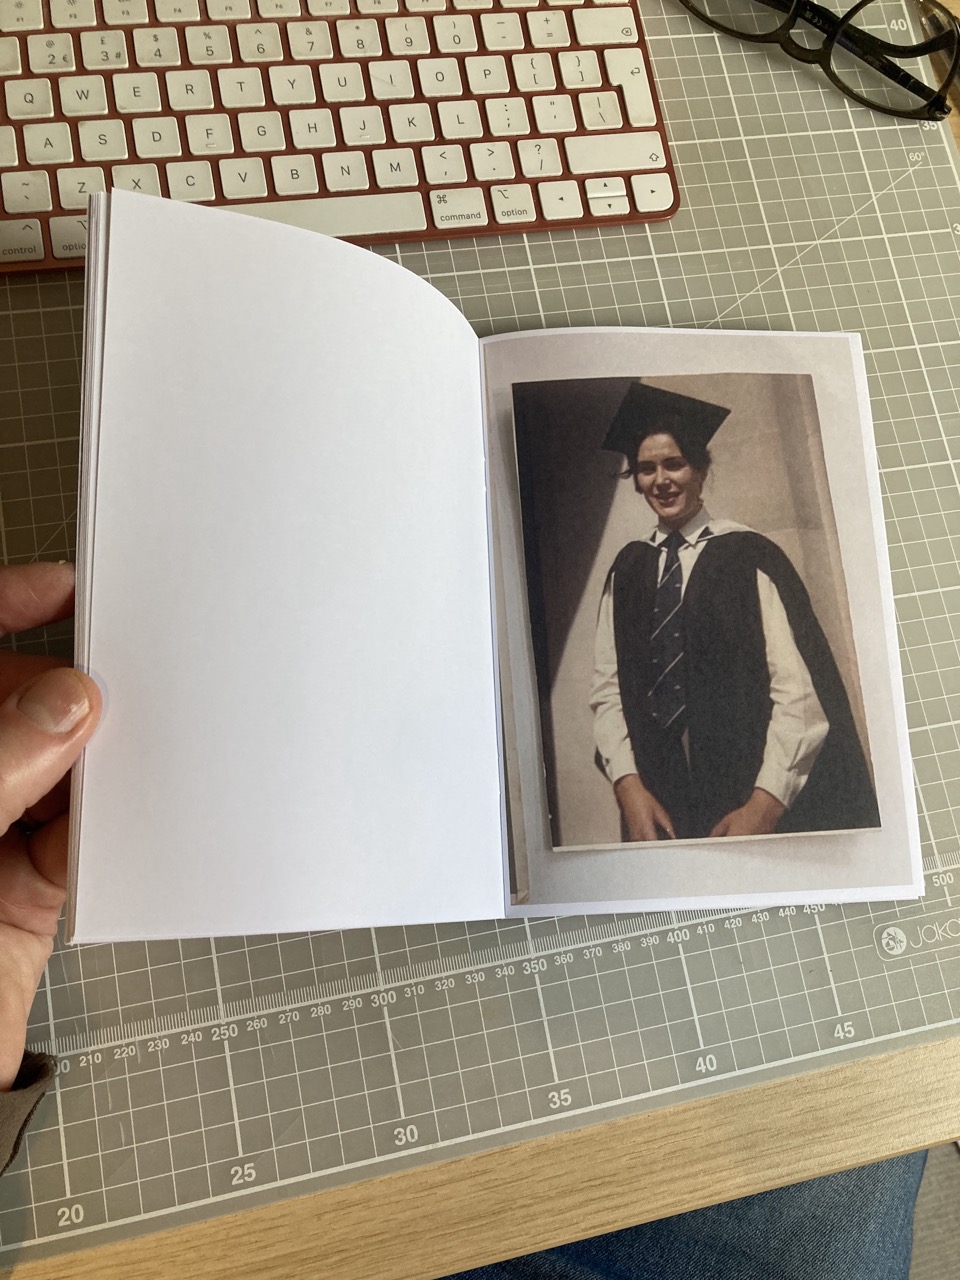
5. Like picture 3, above, this is a simple spread for text on the left and a picture on the right.
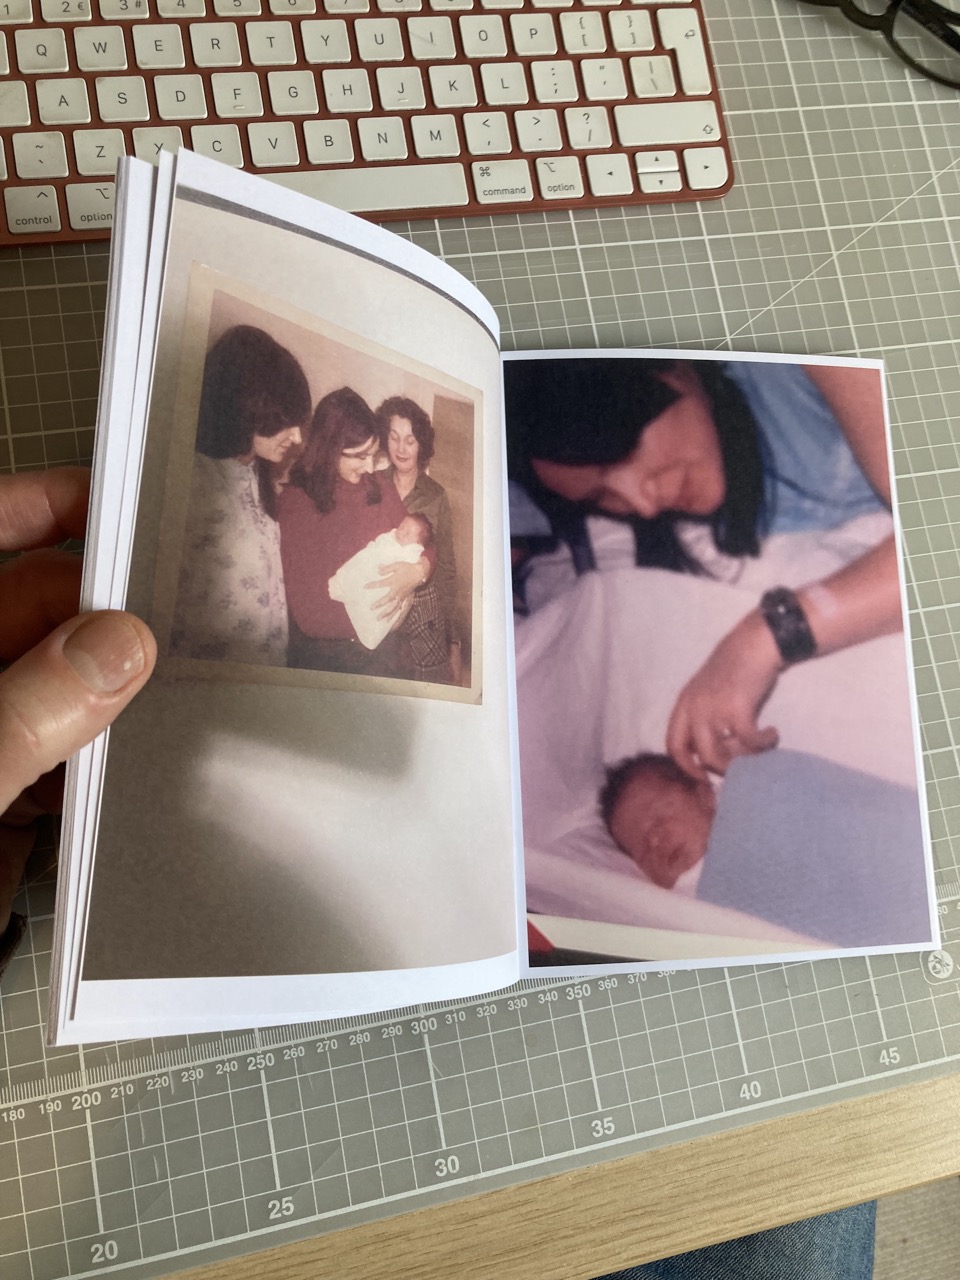
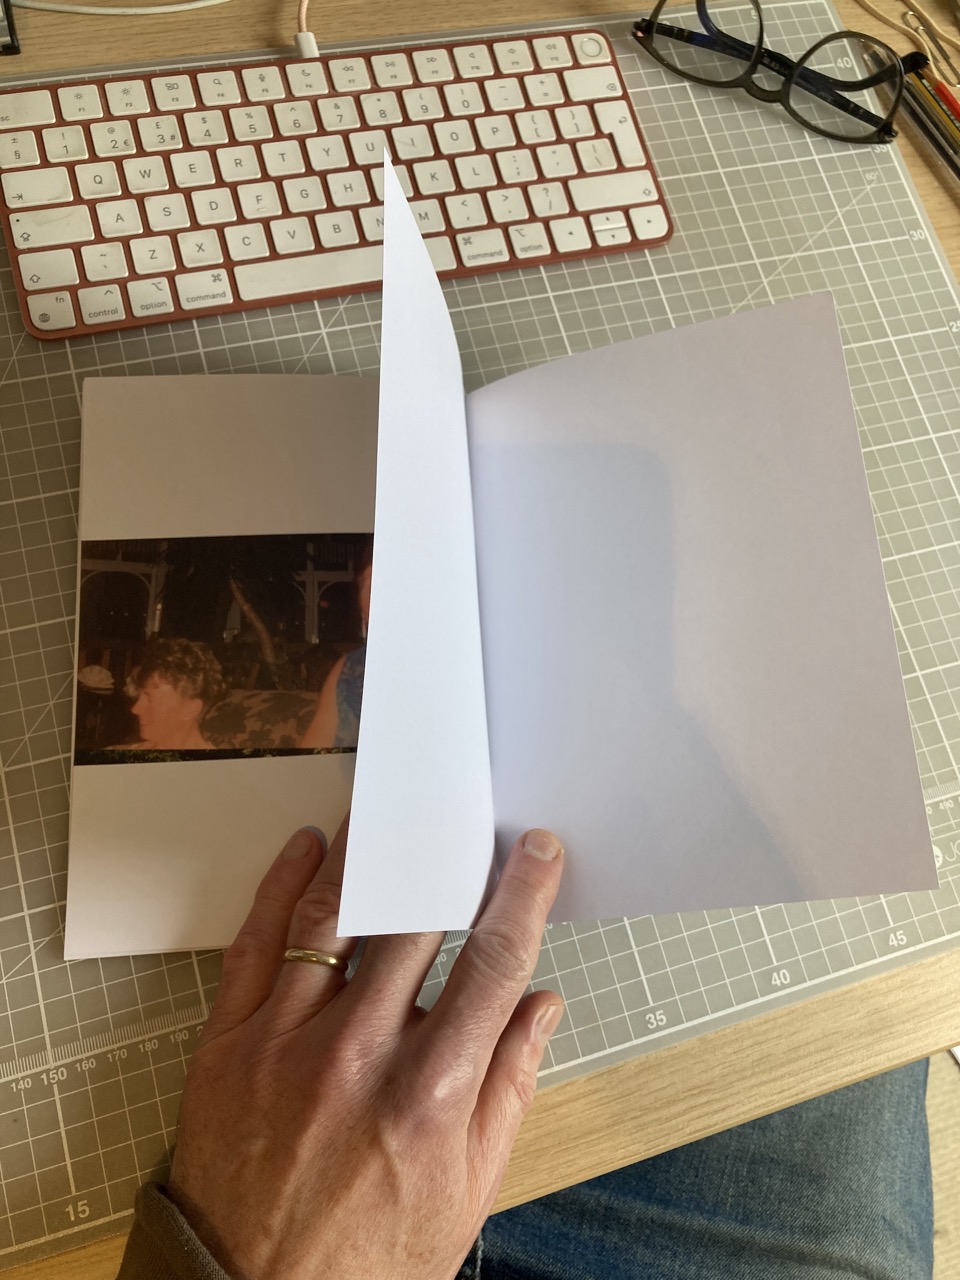
6. The photo on the right-hand page is not perfectly focused at this size, but what it shows is so tender that it doesn’t really matter. It seemed to go well as a pair with the picture on the left. (Is that you in the middle?)
7. Again, I split a wide photo in two and ran it across two pages. As mentioned above, right-hand pages have the most impact, and that certainly applies here. In fact, you could argue that the left-hand side is a bit featureless – doesn’t add much. But I like it. If you want, you could add some white text on that left-hand page…
8. I like to keep at least a couple of pages blank, at the back of the book – for you to fill with writing!
Thank you for letting me use your photos like this, Charmian. I hope you found it interesting / useful.
Now, having finished typing and sending this, I will go and put your physical book in the post!

JPF